My son Jubs got this memo board for Christmas last year, but it was actually a double up as I had already bought him (a bigger) one, leaving this baby in my pile of things to prettify (not sure if that's an existing word, but I'm just gonna roll with it...hehe). I also have tons of burlap from my nephew Josiah's 1st birthday party, so I wanted to use some of that.
For all you visual peeps like me, here's a step-by-step pictorial on how I made this beauty!! I used my phone to take the pics because it was much easier to hold in one hand than an SLR, so the quality is not the greatest.
 |
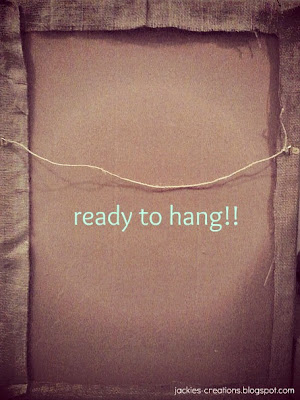
| back |
 |
| front |
You could also use this time to stencil/paint something on (if you wanted to personalise it). I originally wanted to do that, but decided to leave it for another day. I was too excited to get this baby done!!
If you wanted to, you could tidy up the back by sewing the ends of the burlap (I just didn't bother because I just wanted it done!!)
...and voila!!
 |
| My very own burlap memo board!! |
This beauty is going to live by our entrance so we can see all the important reminders before we leave the house. Hope you enjoyed today's post! Hope to see you back here next week with even more DIY projects!! Can't wait!!
Have a wonderful weekend!!
xo,
Jackie


No comments:
Post a Comment